Transport Fever 3 Warehouses, Terminals and Freight Hubs
Put storage within reach of both terminals, then run an incoming and an outgoing line. The warehouse holds freight; your vehicles still deliver it.
Build it in four checks
- Pick the product and customer.Use the chain finder to identify the receiving industry.
- Check both cargo catchments.Place storage within reach of the truck and rail terminals.
- Assign the stock.Open Configure to add modules, then Stocks to choose each product.
- Watch one complete transfer.Test both lines with Load if available. Follow an arrival, storage and pickup.
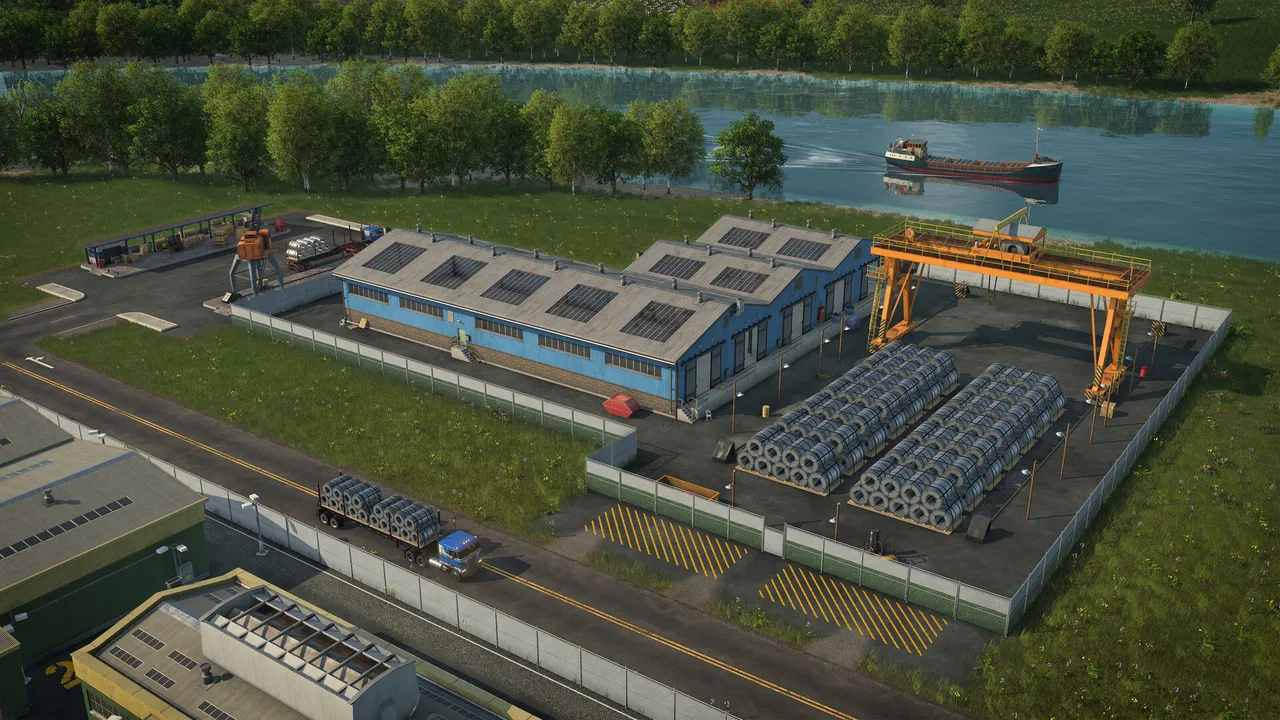
A ship-to-truck hub uses the same coverage check. Large ships also need a large harbor landing.
Storage or terminal: which part needs changing?
| You need to… | Warehouse | Terminal / platform |
|---|---|---|
| Hold cargo between trips | Add storage modules | Vehicles stop here |
| Clear a vehicle queue | More space cannot clear a bay | Check entrances and alternative terminals |
| Speed up handling | Specialize the stock | Match cargo and platform; check train length |
Universal or specialized?
- Universal
- Mixed products in one stock. Flexible storage; delivery timers keep running.
- Specialized
- One product per module. Faster handling and a frozen delivery timer while stored.
Specializations: Liquid, Bulk, Flatbed and Goods. Find a product's group in the cargo table.
Adding or removing a module?
Use Configure in the warehouse window. The bulldozer in configuration removes individual modules; outside it, the bulldozer removes the whole warehouse. In Stocks, each module also has its own discard-cargo button.
Cargo not moving? Follow the failed leg.
Choose the symptom you see in your save.
Nothing arrives
Select the station: the warehouse must highlight blue for cargo access. Then trace the incoming line back to its supplier.
Find the supplierCargo arrives, but nothing leaves
Check the outgoing vehicle's cargo support, its stop's load filter and the customer's demand. Nearby towns and factories cannot collect warehouse stock themselves.
Check cargo and consumersOne product takes the wrong module
Open Stocks and click the cargo icons to assign a product. Two products need two specialized modules, even within the same category.
Compare the storage layoutsLoading takes too long
Hover the loading-speed row in the vehicle window. Match the vehicle, platform and stock specialization; extend a platform that is shorter than its train or tram.
Recalculate with the actual loading timeVehicles queue for one terminal
Use the stop's move-stop control to change its assigned terminal. Enable reachable alternatives. For trains, every alternative must be reachable from the last signal before the station; trucks decide at the entrance.
Check the approach signalsThe outgoing vehicle waits forever
Test with Load if available. A full-load departure rule can hold a vehicle when its requested cargo is missing.
Check departure and wait settingsStock keeps growing?
Compare arrivals and departures over the same period. More storage only buys time when incoming cargo exceeds the outgoing line's capacity.
Size the outgoing fleetCheck the production ratiosSee the cargo system in motion
The official overview introduces warehousing, specialized loading facilities and production chains.
Continue with your next decision
- Where does this cargo go?Trace its next consumer.
- How many trucks or trains?Plan the carrying capacity.
- Why is the town still waiting?Check final delivery and demand.